Photographing Indoor Sports
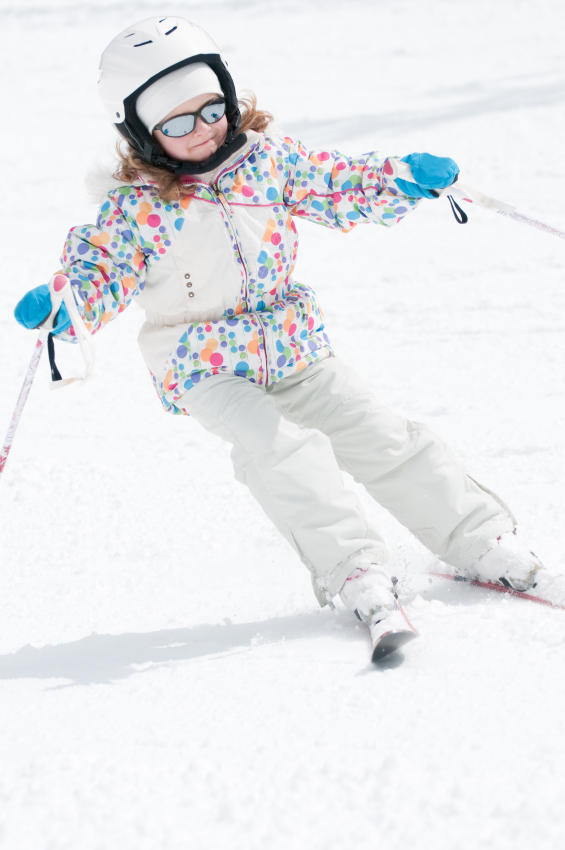
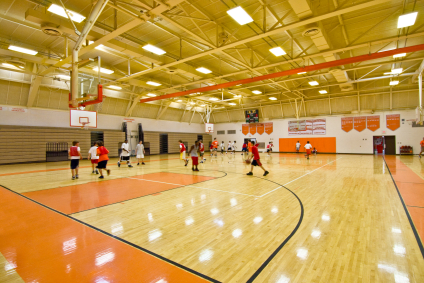
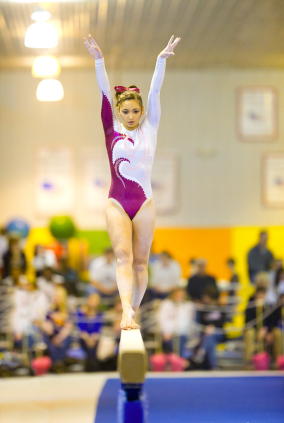
“Why are my photos dark, grainy and blurry?” This is the one that I receive the most questions about from parents attempting to photograph indoor basketball, volleyball, gymnastics, etc. Gymnasiums are tricky. Especially when you are photographing a game at your local rec center, middle or high school. While our eyes seem to tell us there is enough light, our cameras are telling us another story.
 Do you want to hear the real low down about shooting sports indoors? The warm fuzzy version says to go ahead and put your camera on the auto Sports Mode. The theory is that the camera will make all those tough decisions for you and you can just snap away. This is an option and if you are willing to live with some hit and miss results, go for it. The truth of the matter is that while sometimes that may work, most of the time your camera meter will be fooled by the inconsistent low light and the dark backgrounds. These factors will throw off your settings and you will end up with blurry, grainy photos about 50% of the time.
Here is the real scoop. You need to take your camera out of Sports Mode and move over to Manual Mode in order to make a few setting adjustments. While this does require some pre setting, once you are set up, it never changes for the whole game and you are set for the season. Each game, the light will be the same.
For the next steps, you will need to know how to adjust these settings while in Manual Mode:
• Aperture (Fstops 2.8, 3.5, 4, 5.6, 8, 16, 22)
• ISO (50, 100, 200, 400, 800, 1600, 3200, 6400)
• Shutter Speed (15, 60, 125, 250, 500, 1000, 2000)
• White Balance (Auto White Balance or AWB)
Did I lose you? Sounds intimidating but it actually isn’t. All of these settings should be easily found on your camera without much work at all and the White Balance setting should already be your default. If you are having a hard time, pick up your camera manual. These settings will be easy to find.
 Without going into the reasoning behind all of these gyrations, I want to give you a starting point. You will need to make adjustments for your gymnasium but this will get you surprisingly close. Follow these simple steps.
• Change your camera to the M or Manual Mode
• Raise your ISO number up to 1600 or 3200
• Drop your Aperture number as low as you can get it. Ex 2.8 or 4 or 5.6
• Raise your shutter speed to 250, 320 or to really freeze the action 500
• Move your White Balance to Auto White Balance
 That last step (changing your White Balance) will help with the strange colors you get when shooting under artificial lights without a flash. So why are the colors all whacky? Light comes in all shades of color. True white can be seen under a mid day sun or with a flash. From white, it goes in two directions. Warmer (orange, red, yellow) or colder (blue, green). I won't dive into the technical explanation here. Another day. Your camera has different tools to help adjust for these shifts. However, most modern indoor gymnasium lights throw a weird curve at your camera. They pulse. It doesn't do any good to correct one way or the other because they pulse very quickly between tones. So, when you are trying to freeze the action, your shutter catches the pulses at different intervals. It is not unusual to end up with one shot that is magenta, one that is green and one that is blueish all in the same burst. How do the pros deal with this? The top end pros are working with flashes mounted in the rafters. So don't feel bad. Everyone photographing indoors without professional flashes are dealing with the same problem.
While setting your camera to Auto White Balance (normally your default setting) will not correct these color shifts on every frame, it will get you closer. You can always tweak it on your computer later. Check out my post production tips in the Editing and Correcting category.
• Now shoot a few photos before your next indoor game.
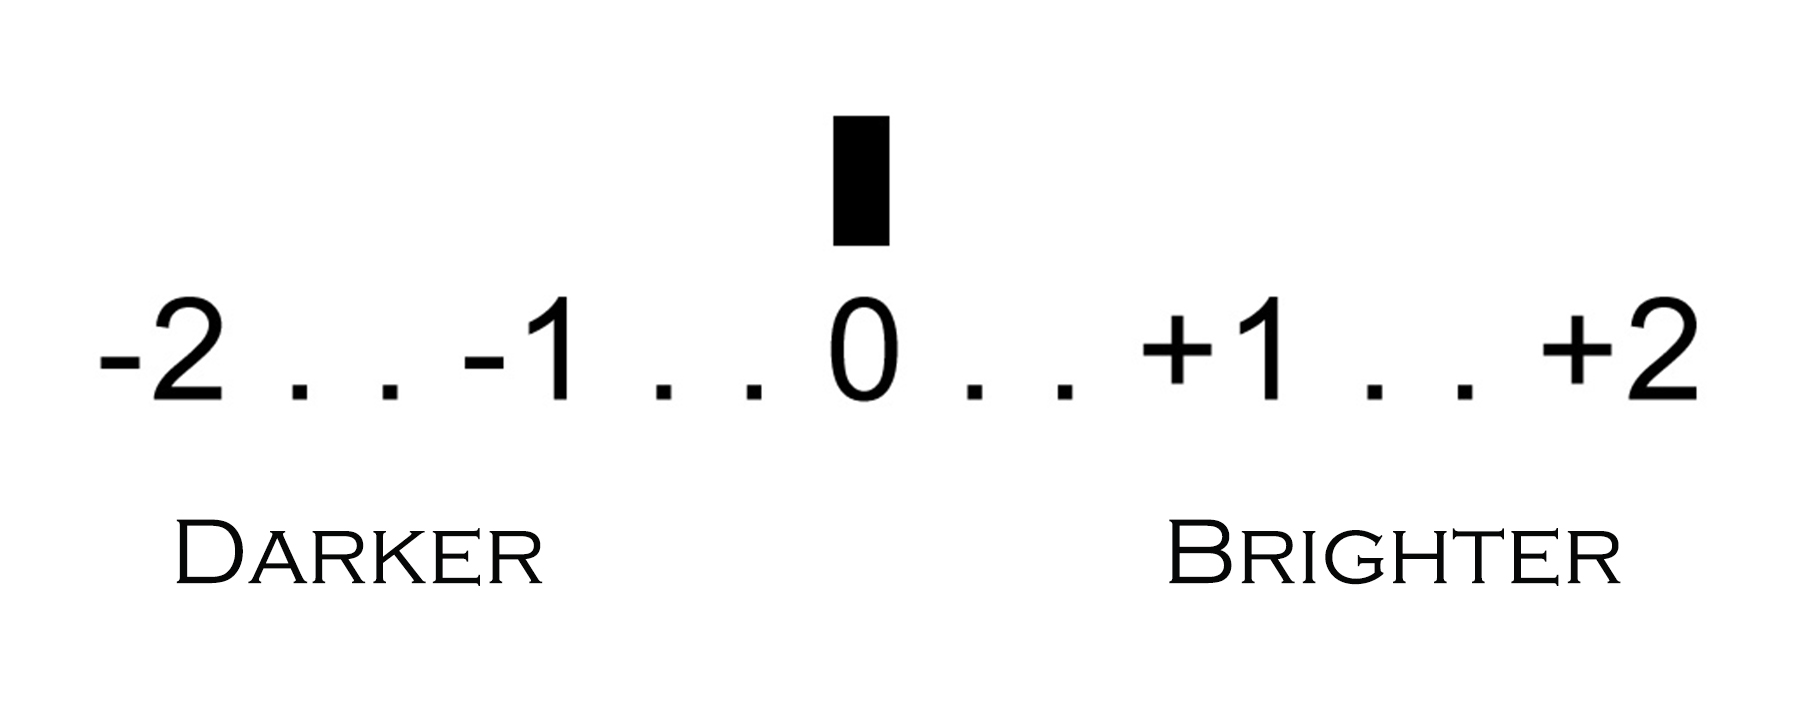
• Too bright? Raise your Shutter Speed and try it again.
• Too dark? Raise your ISO if you can or drop your shutter speed
To understand this completely and absorb this info in smaller chunks, take a look at my articles about the nuts and bolts of photo basics (Aperture, ISO and Shutter Speed).
Did you survive? In most cases the auto modes will get you pretty close, but there are times when you need to override, and photographing indoor sports is one of those cases. Now get busy...the NBA is waiting ![]()

Scott Quintard is a professional photographer based in southern California and a 25 year sports photography veteran who specializes in teaching parents and aspiring photographers about how to capture sports imagery. Credits include 12 years as the official team photographer for the UCLA Bruins and a seasoned contributor for NFL Properties, MLB, NBA and NCAA. Scott is a husband and father of three young athletes. See more of Scott's offerings at www.sportspicpro.com.
NEW! Free Sports Organization Resources
All of TeamSnap's ebooks, articles, and stories in one place. Access Now